
- old/second hand sweater (preferrably red or green)
- glue gun (by now I feel like this should be a given)
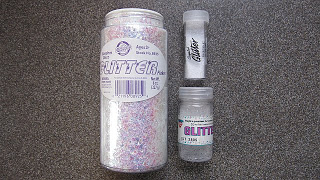
- mini pom poms
- mini garland
- mini Christmas tree decorations
- mini jingle bells
- 1 candy cane pipe cleaner
- battery operated string of lights (very important)
- Christmas music/hot chocolate/a dusting of snow on the ground
 Buy a sweater from a second-hand store, we got our's at Goodwill for $3.99, a STEAL!
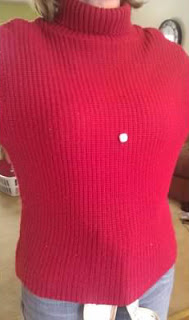
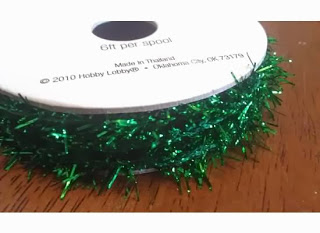
Then, using green garland we bought on sale for $.50 (Holler!!)
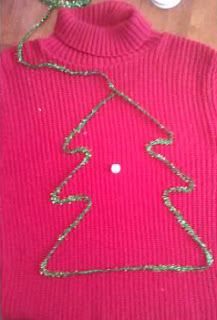
create the outline of a tree on your sweater keeping the top of the tree at least 2" below the collar to allow room for a star.
**Tip: Place a piece of cardboard inside of the sweater to keep from hot gluing the sweater to itself.**
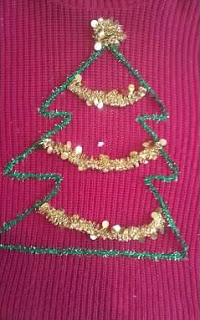
Hot glue the tree into place and decorate using any scraps of garland you have laying around, I used this small piece of leftover gold garland and also created my star with it.
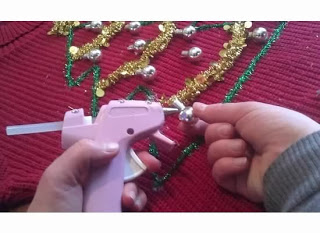
Then begin adding your mini Christmas tree decorations.
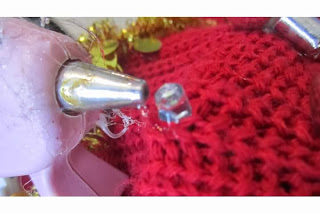
**Lights are what really make ugly Christmas sweaters.**

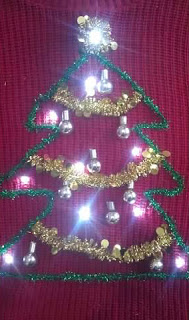
Look at this BEFORE & AFTER. The results speak for themselves here.
OPTIONAL:
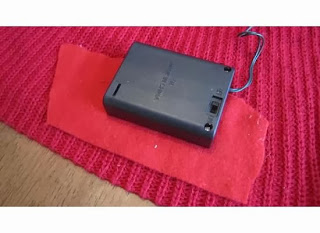
Using a scrap piece of fabric, create a pocket to hold the battery pack and cover the cords inside of the sweater, this just makes it easier to wear. Cut fabric, add some hot glue, press into place, dance of joy.
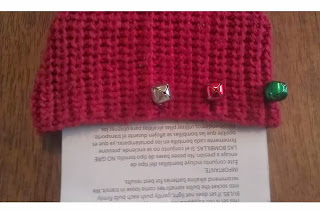
NOT OPTIONAL: add mini jingle bells to sleeves.
 Using a scrap piece of cardboard inside of the sleeve to keep from gluing it shut, glue jingle bells about 1" apart along the edge of each sleeve. This ups your Ugly by at least 15% and makes your sweater a multi-sensory experience.
Glue mini white pom poms ($.99 on sale, SAY WHAAAT?!) to the shoulders and arms of your sweater to simulate snow.
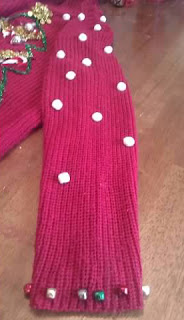
Glue mini white pom poms ($.99 on sale, SAY WHAAAT?!) to the shoulders and arms of your sweater to simulate snow.
Flatten the arms of the sweater so that they are seam-side-down and add pom poms to the top of each sleeve.
Now, cut your pipe cleaner into 5 equal parts, about 1" each and bend into the shape of a candy cane. Glue into place....

...aaaaaaaand you're done!!!

Now all you have to do is flip on your lights and wait for the compliments to start rolling in.

...go ahead...why don't you make me?
MERRY CHRISTMAS!!

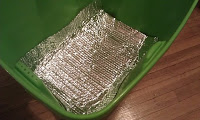
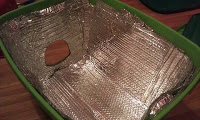


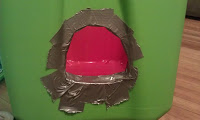


 Fig.1
Fig.1 Fig. 2