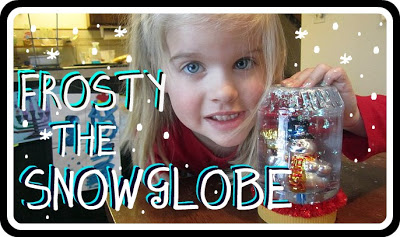
Last week I was home in 'Rado for First Christmas (because you should always have at least 2 Christmases) and got to have a craft day with my 4-year-old niece, who by coincidence just happens to be the coolest 4-year-old ever, Tabitha. One of the projects we made was this Frosty the Snowman snowglobe.
Since this was going to be Tabitha's very own special ("it's just my perfect size!" in her words) snowglobe I thought it should be a little more kid friendly than the
original snowglobes so instead of an old glass jar we used a plastic peanut butter jar. (Sister didn't have an empty peanut butter jar lying around so we emptied the peanut butter that was in this jar into a Rubbermaid container and now it looks like she
makes her own peanut butter. "Oh this? Ya, I make my own, so much healthier." So, we both win!)
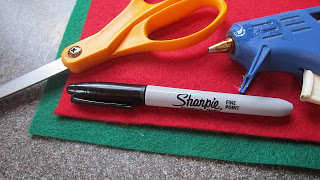
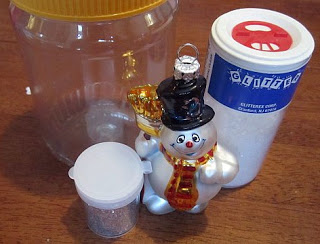
For this project you will need:
- a pre-schooler
- an empty peanut butter jar (plastic)
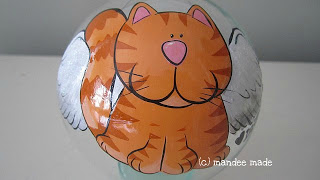
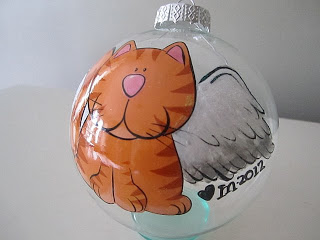
- a non-metal character of your choosing (ours is glass)
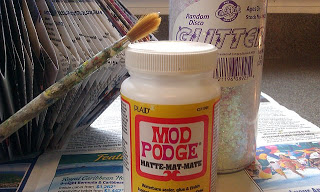
- Glitter
- distilled water
- glycerin
- modeling clay
- glue gun (do I really need to list that every time?)
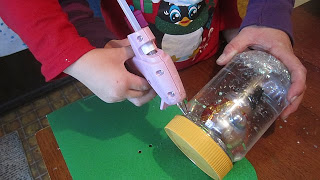
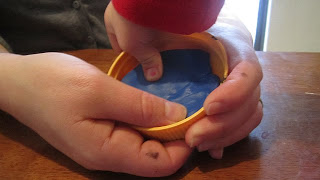
Begin by adding a generous dollop of hot glue (about the size of a silver dollar) to the inside of your washed and dryed lid to adhere the modeling clay to.
Then squish modeling clay into the entire surface of the inside of the lid. Little fingers come in very handy for this. The clay should be about 1/2" thick.
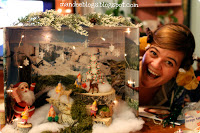
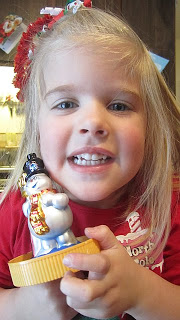
Now, press your character into the modeling clay. Make sure to secure it in there pretty good, cover the feet up with some extra clay and then pose for a picture with it.
Oh what the heck, pose for 2 pictures with it- it's Christmas after all!
Now it's time to prepare your globe. Fill your jar almost to the top with distilled water (it has to be distilled or it'll be cloudy) and 1tsp of Glycerin. (
More detailed instructions here.)
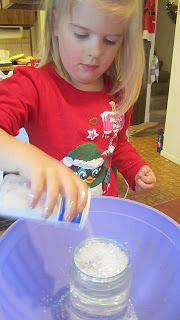
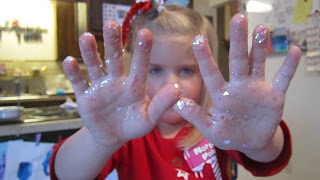
Then put the jar in a big bowl and let your pre-schooler add enough Glitter to choke a reindeer.
**The bowl is just to catch all of the extra Glitter that is sure to go everywhere if you hand a jar of Glitter to a 4-year-old.** Case in point.
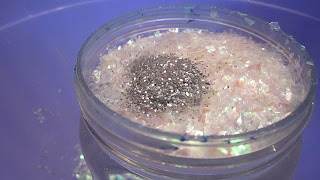
(For the record, this is how much Glitter it takes to choke a reindeer.)
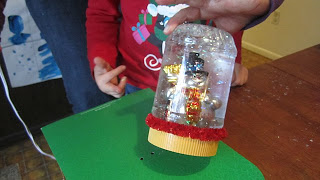
Now, screw on your lid. This should be a little tough because some of the modeling clay will get into the threads of the jar. That is a good thing because it helps to seal the lid onto the jar. That is a bad thing because I have weak little noodle arms and almost had to ask for help to get my lid on.
**TIP: if you're using an ornament like we did, be sure to remove the metal top because it will rust. We also filled Frosty with water before submerging him so that there wouldn't be extra air bubbles in our snowglobe.**
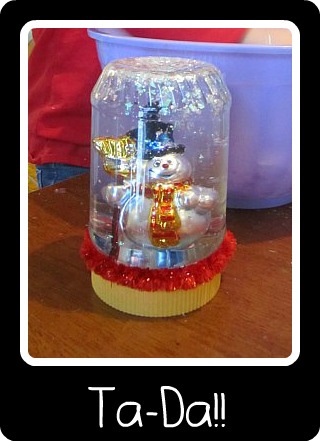
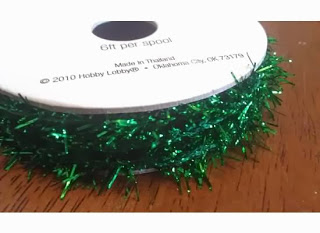
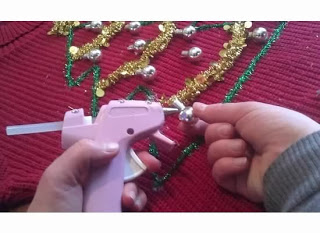
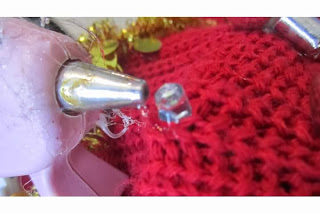
Next add a line of hot glue around the base of the lid and stick some garland to it.
And you're done!
Now run up to your room and find the perfect place for it. Tabitha did. Then she immediately took it down, shook it up and Tim Tebow'd it across her room somehow. I'm happy to report that Frosty passed this little quality control test with flying colors. Toddler proof and proud!!
These snowglobes make wonderful last-minute gifts. They're super quick, inexpensive and made by hand so they're extra special too. Merry Christmas and happy crafting!
~mandee rae
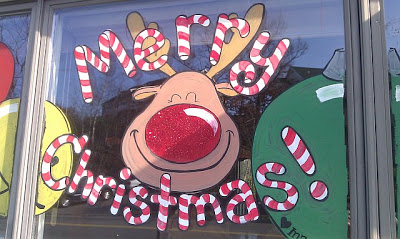
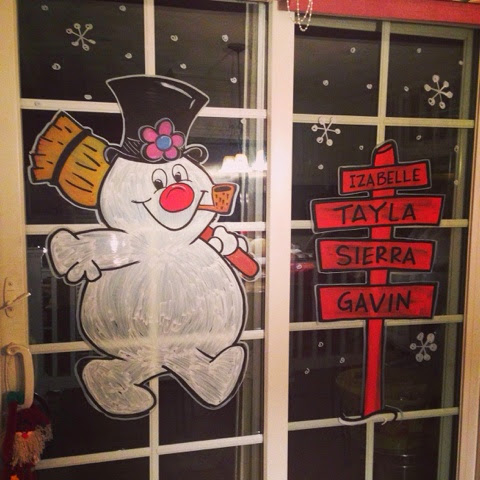
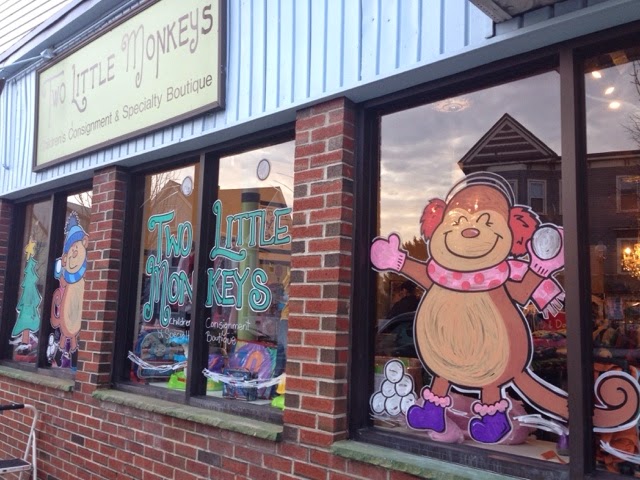 Winter window season is in full swing around these parts.
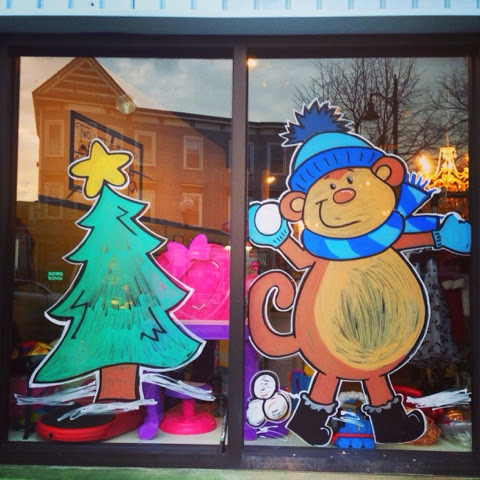

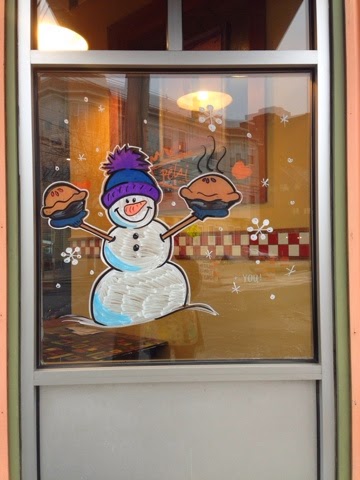
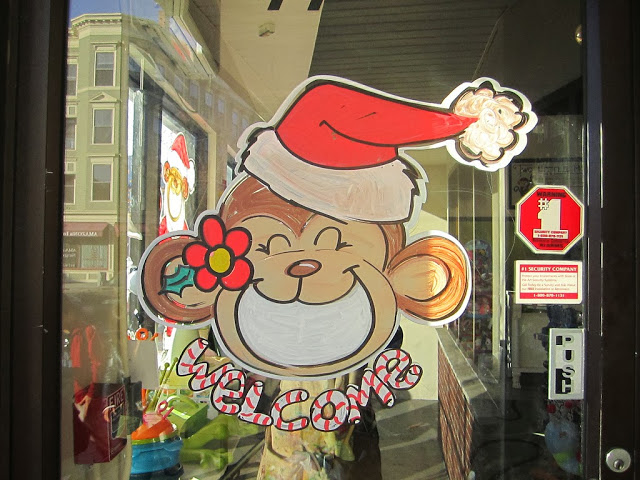
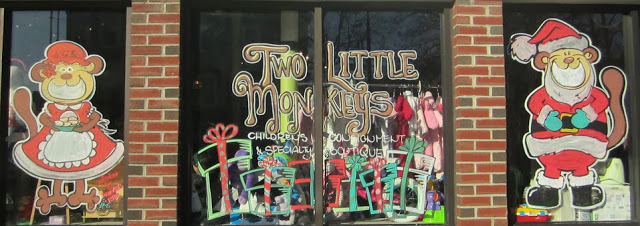

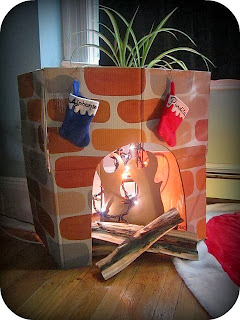


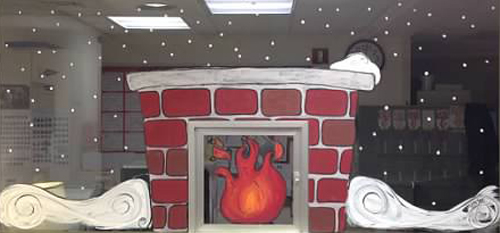
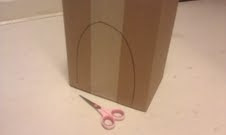
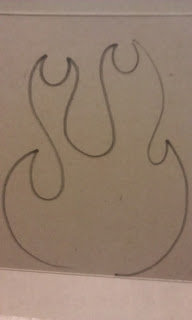
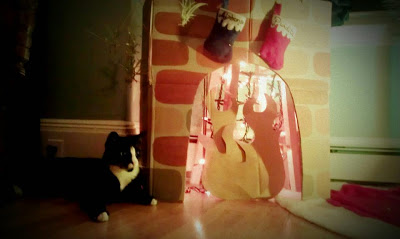
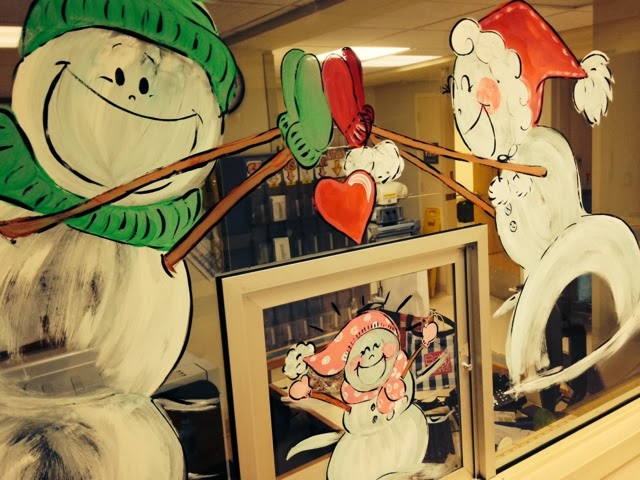
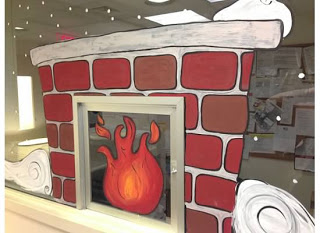 This month's window painting is special not only because it's some magical fireplace burning out in the middle of a snow storm but also because it's going to have to stay up for 3 months- a.k.a. the length of my maternity leave.
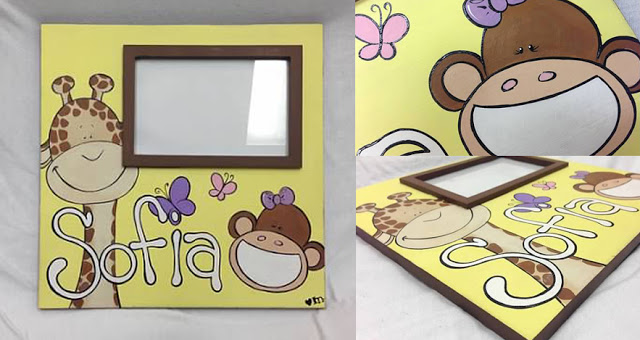

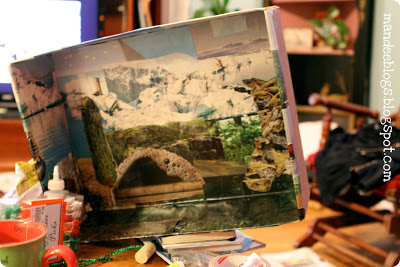


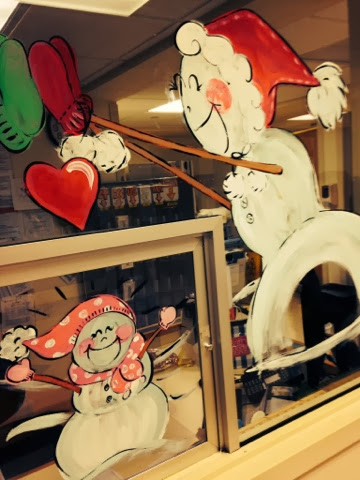
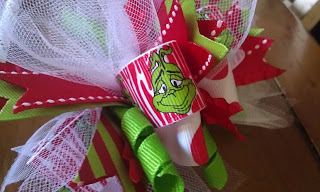
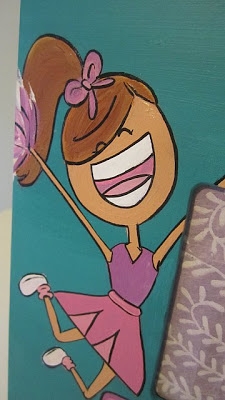 Which is more than I can say for myself because I can't wait for the girls to see them. Their Nonnie (aka Gramma) assured me that Faith & Layla are going to LOVE their frames and now, though I've never even met them, I am so excited for them to open their gifts!
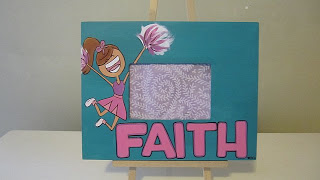


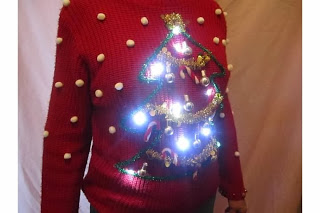
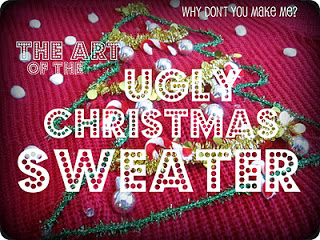
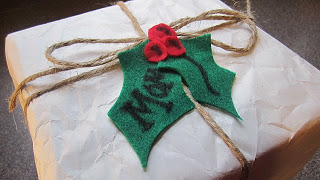
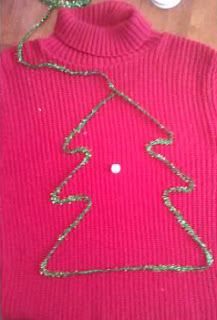
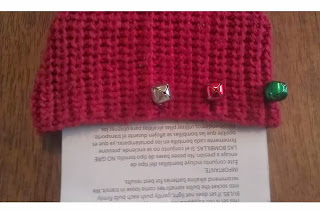
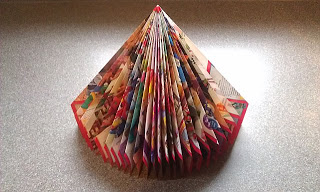
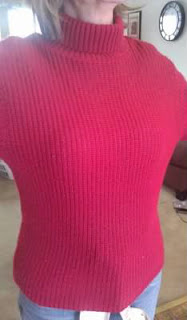 Buy a sweater from a second-hand store, we got our's at Goodwill for $3.99, a STEAL!
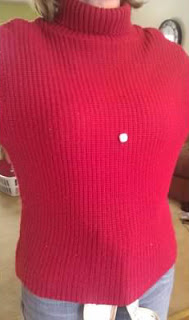
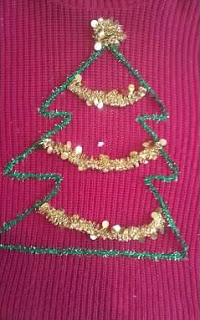
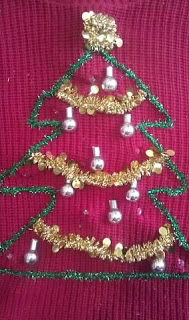
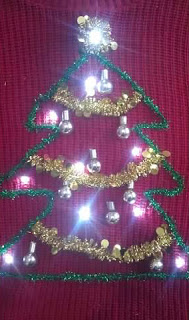
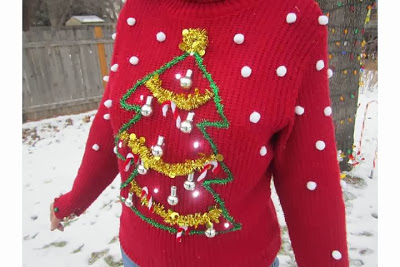


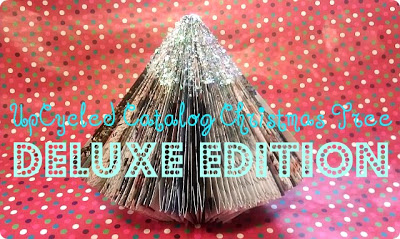
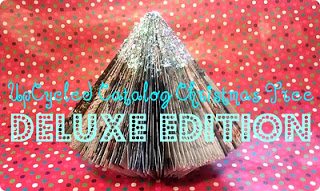
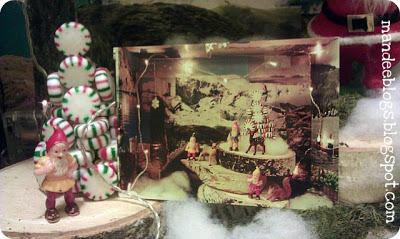
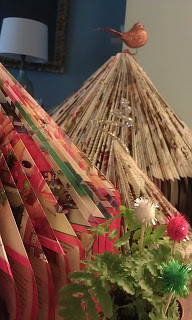
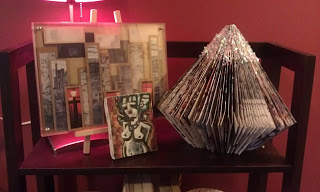 Now all you have to do is find the perfect place to display your creation. Mine made a brief appearance on this shelf before settling in as the table centerpiece.
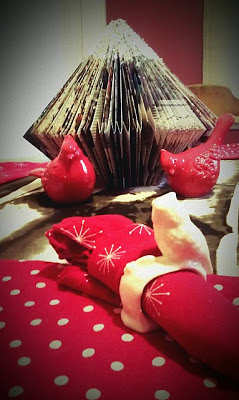